Windows 7 Installation
This article is to demonstrate the basic steps for installing Windows 7 and is aimed at beginners and above. You should check the disk does not contain valuable data before formatting or installing. Recommend to backup any data if of importance.
1. Hardware requirements:
This is minimum hardware that you need to have on your computer and should be checked in advance of installing.
- 1 GHz CPU with 32 bits or 64 bits.
- 1 GB Ram for 32 bits or 2 GB Ram for 64 bits.
- 16 GB empty space hard disk for 32 bits or 20 GB for 64 bits.
- DVD drive (if installing from a DVD).
2. Installation steps:
There‘re different ways to install Windows 7 but in this article we intend to show you the most simple way to install it from DVD drive.
To install Windows 7 from DVD, first you need to have your computer start up from the CD or DVD Rom Drive in BIOS.
To have the computer start up from CD or DVD Rom Drive, you turn it on then press Del or F2 (depend on your computer’s mainboard) to enter the system BIOS.
After getting to BIOS, you go to Boot menu and choose Boot From CD/DVD (so it is enabled and also the first in the list) as the picture:

After finished, press F10 to save the configuration and exit BIOS then reset your computer.
Insert Windows 7 DVD into your DVD drive then start up your computer, Windows 7 will be loading files as follows.
After loading, Starting Windows will appear.
In the next step, Starting Windows screen will appear, you will have 3 parts to select:
- Language to Install.
- Time and currency format.
- Keyboard or input method.
After selection, click Next (selection as following is an example for the language).

In the next screen, if you want to install Windows 7, click Install Now. If you want to repair your Windows then click Repair Your Computer. In this article, we intend to install new Windows so we choose Install Now.
Next, a Setup screen appears in a few seconds.
In Select the operating system you want to install, you choose the Windows 7 version that you want to install. Here we choose Windows 7 Ultimate then click next (depending on your Windows DVD, this step is an option).

In Please read the license terms, click I accept the license terms then click Next.

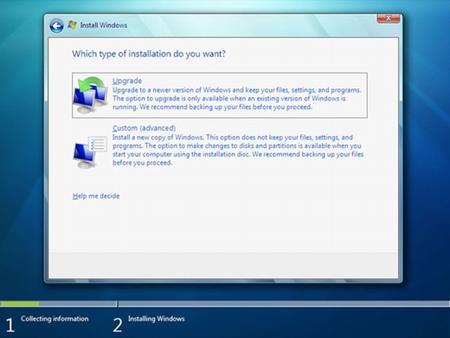
In Which type of installation do you want, there will be 2 options to install Windows 7:
- Upgrade: choose it if you want to upgrade from an older Windows version to Windows 7.
- Custom (advance): to install a new version of Windows.
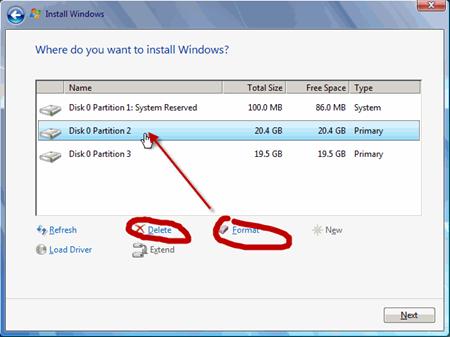
After selecting Custom (advance), you will go to another screen. Then you need to choose Partition for installation, if your computer has only one hard disk, it will be easy for selection, but if it has some Partition, you will have to consider which Partition to choose. For managing Partitions, you have 3 options: Delete, New or Format.
- If you don’t want to Format your Partition, after selecting the Partition, click Next.
- If you choose Delete, then you will have to choose New after that to re-create the Partition you delete otherwise it won’t be able to be used, then select Partition and click Next.
- If the option Delete, New and Format don’t appear, click on Disk option (advanced) to open it.
After you click Next, Installing Windows screen will appear, it might take some time depending on your computer configuration.
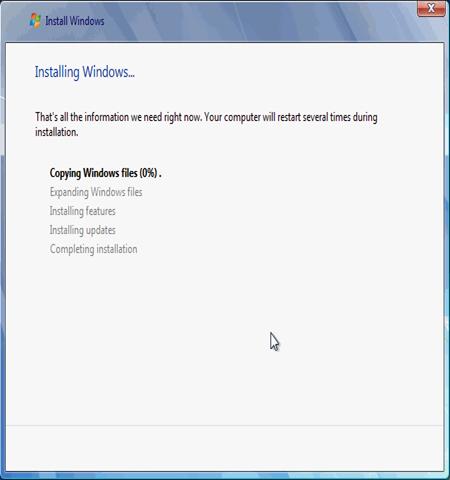
The installation might restart computer to apply the files as well as libraries.
3.Starting up Windows 7 for the first time:
Windows is starting up with 4 colourful balls that are joining together to become Microsoft’s logo.

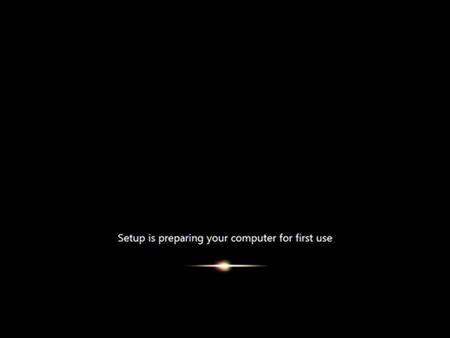
The next is you will see a Preparing screen that is quite familiar to Windows Vista users but in Windows 7, this screen has been changed completely.
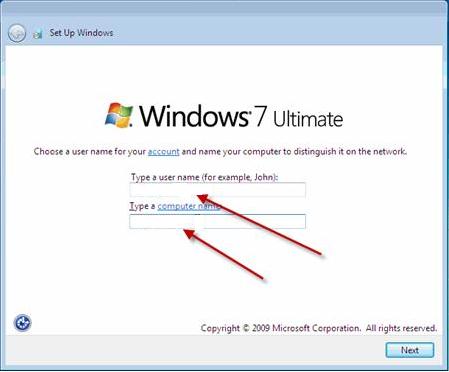
After this screen, you will be required to type you’re a user account and computer name. After click Next.
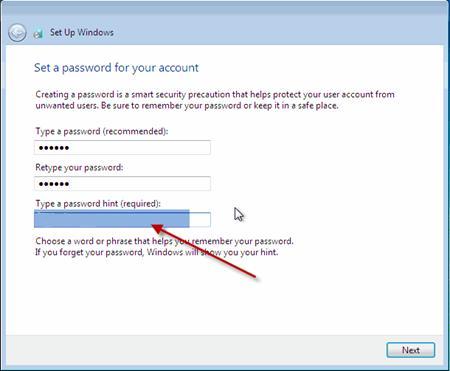
Next, you need to Type a password for your account, you can also Type a password hint to help in case of forgetting the password in the future, and then click Next.
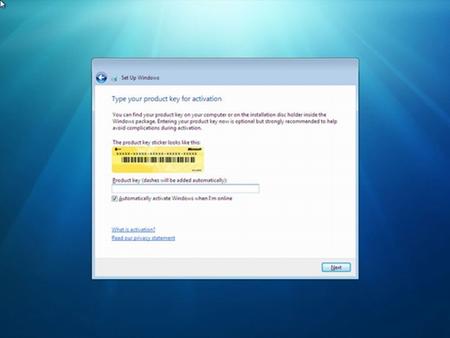
There will be an Activation box, if you have activation code or key for your license, type it in Product key box. Click Next.
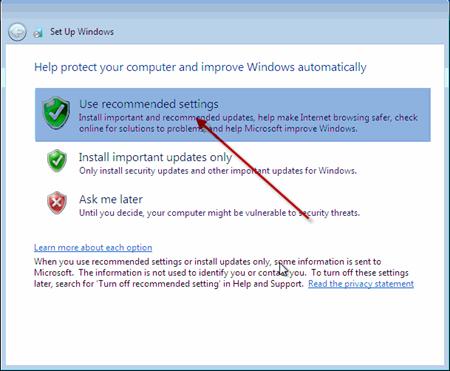
In the next screen, you can choose how to protect your Windows. Here we choose Use recommended settings.
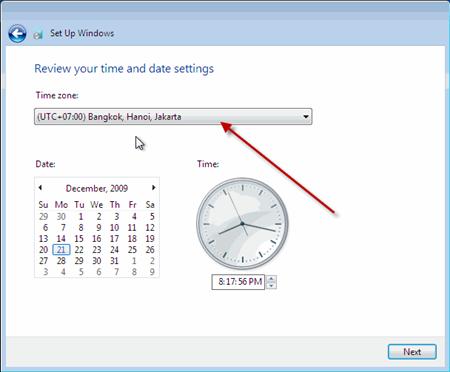
The next step is to set up your Time zone then click Next.
After clicking Next, it will go to Network setup screen if you already have Internet connection. There are 3 choices:
- Public network: use this if you are in public such as Internet café, bars, café etc.
- Work network: use this if you are using Internet at work.
- Home Network: this is the best choice if you are using Internet at home.
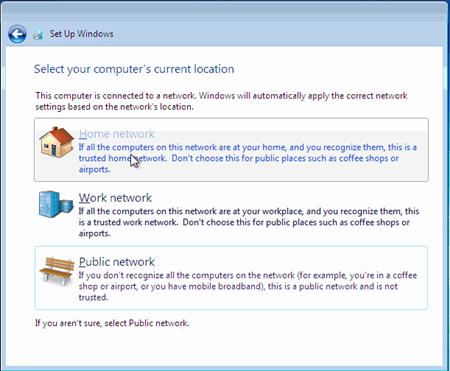
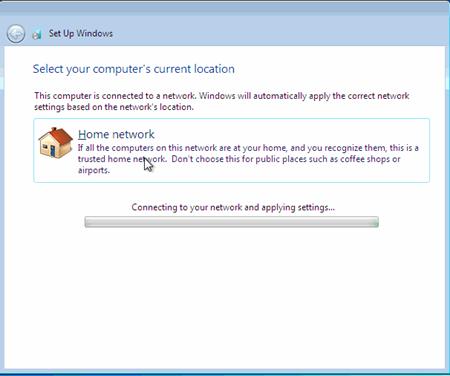
We choose Home network in this section.
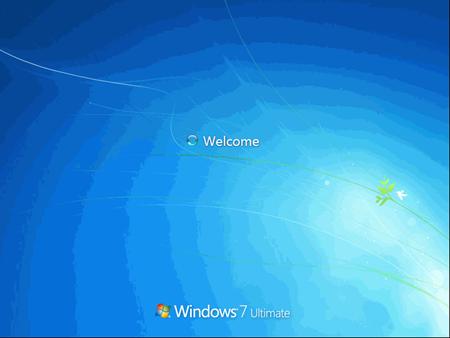
After setting up the network, a Windows 7 welcome screen will appear.
After a successful logon, you will see a screen as below:
4.Some errors during Windows 7 installation:
After Windows 7 installation, if you cannot connect to Internet, please check these troubleshooting:
- Make sure Internet cable and the modem are working properly, the connection points are not getting loose.
- Check the network drive (normally Windows 7 automatically detects drivers).
- Set up Windows IP if the modem doesn’t analyse it automatically (searching on Internet for how to set it up).
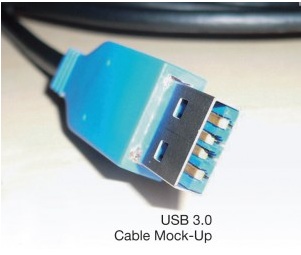
Some devices might not work such as: USB 3.0, Webcam, Bluetooth etc. then you should check the driver to see if it has been installed properly.